Lore
Jason’s Home Reno: Part 1
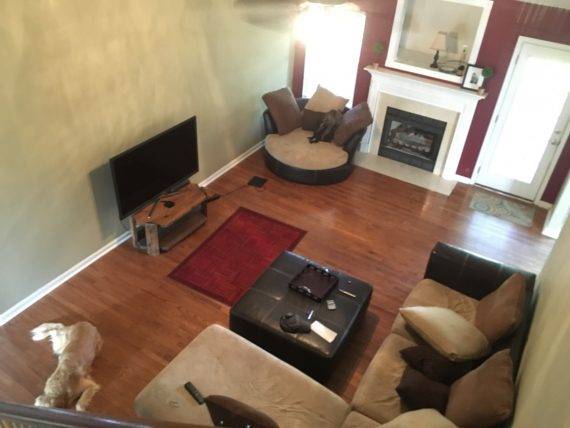
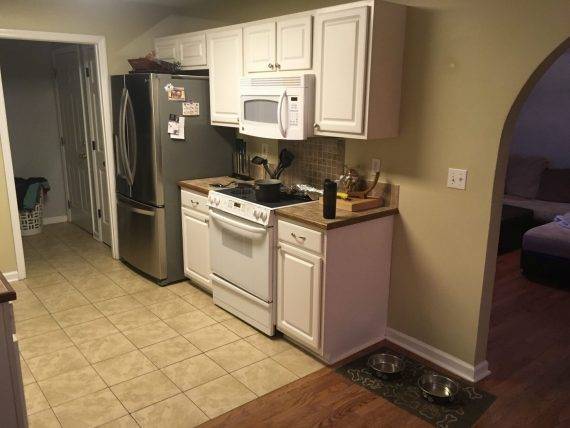
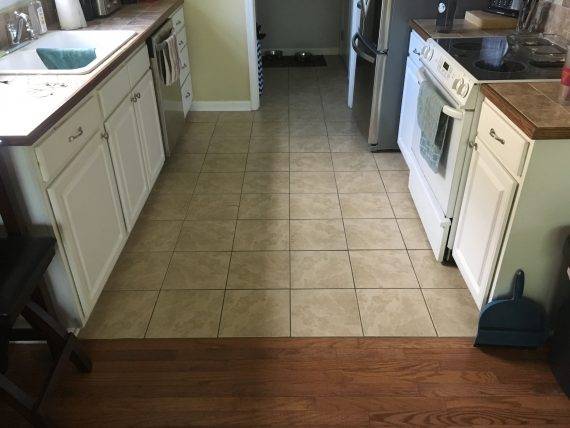
So – I’ve been really busy over the past couple of months renovating my house. The house was built in 2001, and hasn’t been touched since. It has all of the “features” you’d expect, like cupped and worn 2’1/4” gunstock colored oak hardwood floors in the living room (which run parallel to the floor joist, a big no no), an outdated kitchen with builder’s grade cabinets complete with bowed shelving and roach traps, a tile countertop (good luck cleaning the grout in those), a TV nook only fit to hold a TV from the late 90’s, land lines in odd places in the walls, and smelly worn carpets in the bedrooms from the previous owner’s cat.
After buying the house, I knew I wanted the coveted “open floor plan” eventually, so after saving some money I decided to embark on the journey of renovating my house.
- Here’s what was on my checklist with some before pictures:
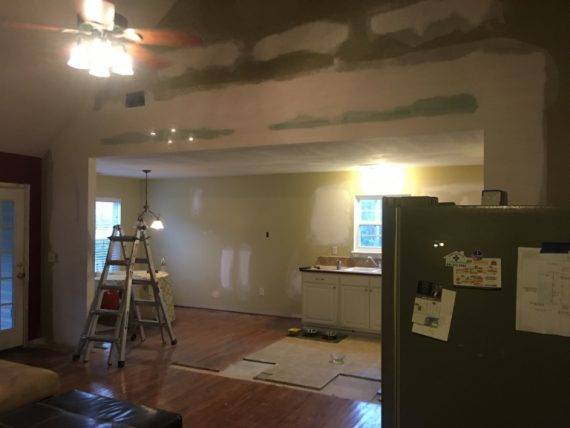
- Remove the load bearing wall between my living room and kitchen.
- Patch over the TV nook so I can hang my flat screen.
- Replace the wall with an island with seating.
- Replace the kitchen cabinets with something more durable that reached all the way to the ceiling.
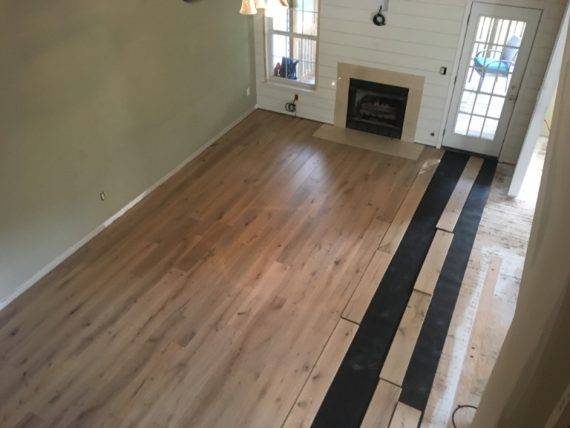
- Run new wider plank engineered hardwood flooring into the kitchen and throughout the entire house, replacing the old smelly carpet in all of the bedrooms.
Here are some before pictures:

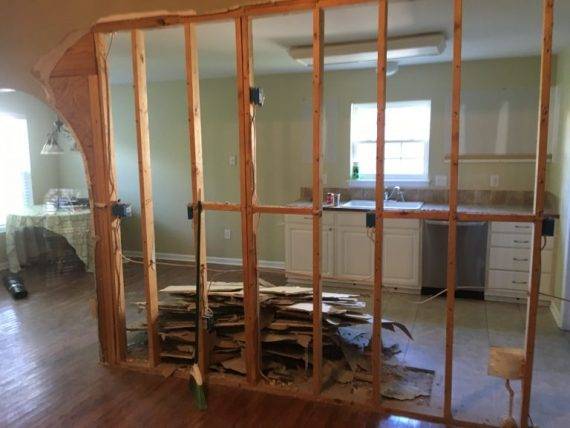
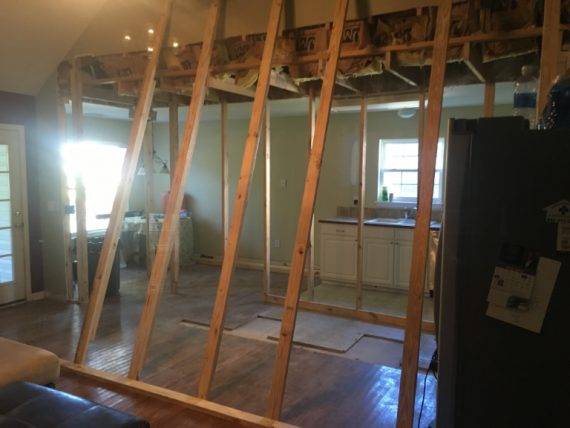
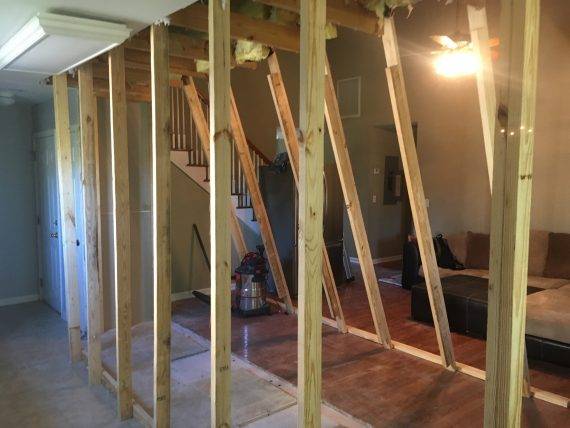
Demo and Removing the wall
So caution to the wind, I pulled the trigger, for better or for worse, with demoing the cabinets and removing the wall. Now, my to-do list was not extremely intimidating to me – after all, it’s short enough. Which I learned eventually, was far from the case.
Did I mention I would be living in the house during construction? I would keep some of my base cabinets as long as possible for the sake of a sink. I was living upstairs in my FROG. It reminded me of a college dorm room. It was outfitted with a microwave, induction portable cooktop, a TV and a bed. Let’s just say I was eating out a lot.
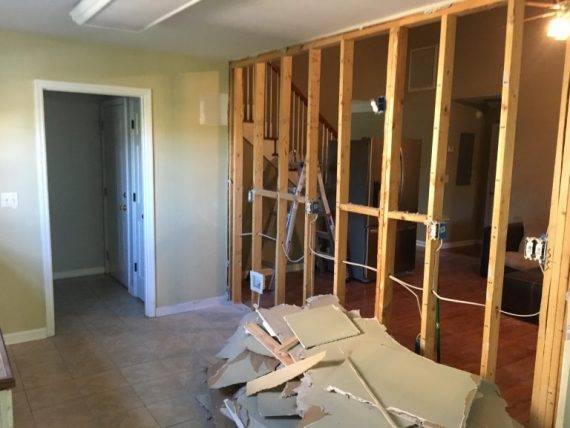
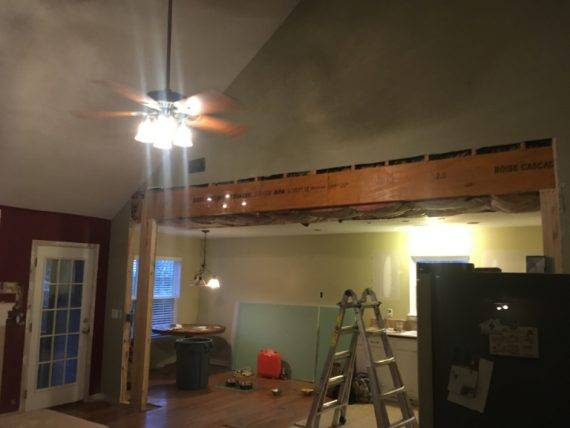
Now – this is a load bearing wall, so I needed to have a Structural Engineer look everything over, give me an engineering letter, then have everything permitted. Thankfully I have some friends who do this for a living, so I was able to get a good price on the wall beam by trading out some work, and get everything permitted through them, the sheetrock work was also subcontracted.
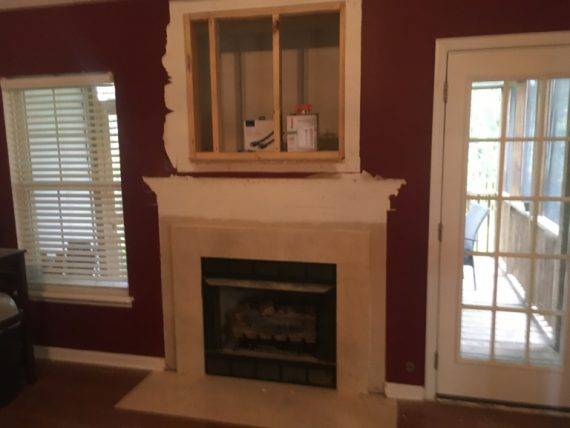
Patching the TV Nook
The one thing that really bothered me about the house was the TV nook. There’s not a lot you can do with it besides try to decorate it to the best of your ability with family pictures and flowers. Even then it looks like some sort of weird shrine for your family members, so I decided to just patch it, and hang my TV in its place.
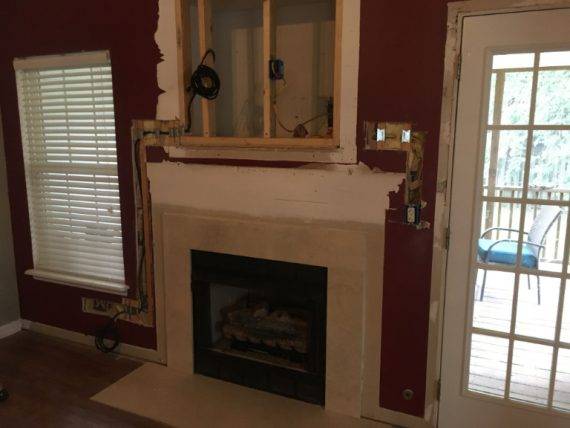
Initially I wanted to do something clever, like install a behind the wall safe, but it just wasn’t practical. I ended up framing the hole with studs, 16” on center, and running an HDMI and Optical cable through the wall, and down under the window, where I would house my Apple TV and Blue Ray Player. I wasn’t worried so much about rerouting my coax cable, as I would just install my “over the air” tv antenna behind the mounted TV. I also pulled the electrical outlet and fireplace switch from the back of the nook to the front, placing the outlet behind where the TV will go.
Another thing I decided to do on a whim, is remove my mantle, and eventually replace it with a more rustic one that resembles a large floating shelf. This would be cost effective and give my TV a little more room on the wall.
I would later decide make this a white accent wall with shiplap. This prevented from having to patch all of those holes with sheetrock, and just lay the shiplap over top.
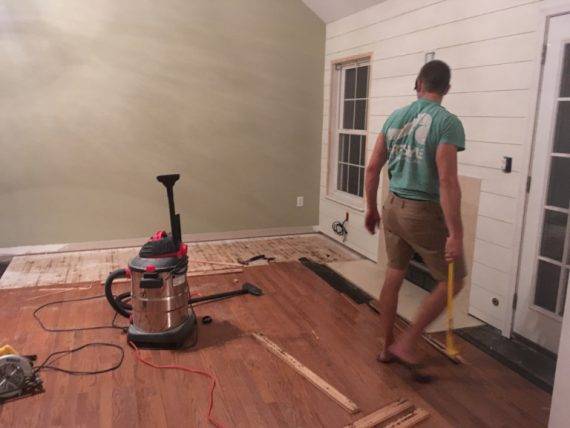
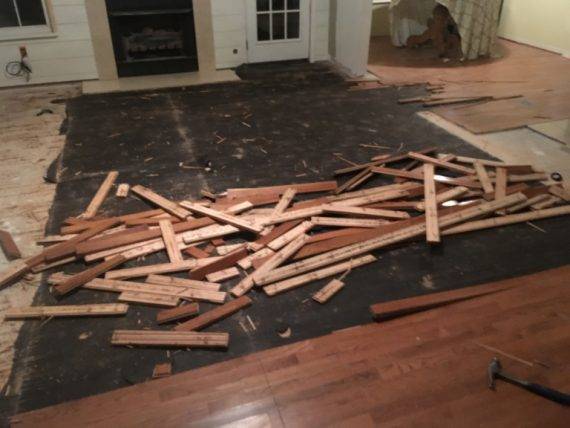
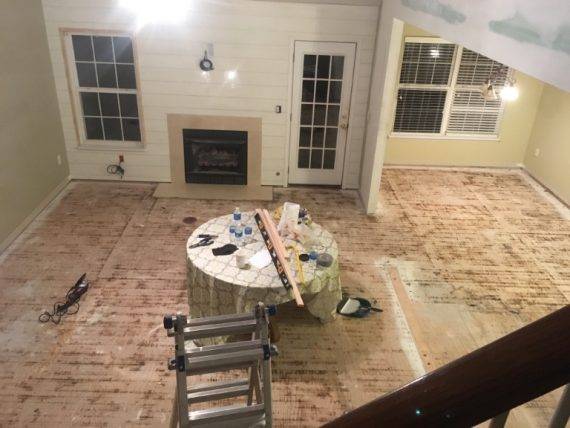
Floors!
If you haven’t ever ripped out 2’1/4” hardwood floors, don’t, unless you really want to save the money. This was the most backbreaking work of all. Every piece of floor has a 2” staple in it every 6 – 8 inches.
Some people said to just refinish them; that was definitely on the table. I had a couple of reasons for not: The floors were running the wrong way to begin with, parallel to the joists; I wanted to install pre-finished engineered hardwood flooring, which is more ideal for humid climates to fight against floor cupping; refinishing would have taken longer, I wouldn’t be able to walk on them for a week, and I would have to deal with the chemicals; and aesthetically, I wanted wider planks. The main reason for not refinishing the floors, was that I was able to get the new floors at a deal with the help of one of my best friends who owns a flooring business in Asheville. I would not have been able to lay the floors without him and am forever in debt.
So I proceeded to rip up all 550’ of flooring in my hallway and living room, and remove the remaining 550’ of carpet in all bedrooms along with baseboards and tack strips. The tile in the kitchen was also removed.
That’s all for now. Check back to see the rest of the progress.